Speak to an Expert
Support hours:
Mon-Fri: 8:30am - 5:30pm EST
Sat: 9:00am - 4:00pm EST
Support hours:
Mon-Fri: 8:30am - 5:30pm EST
Sat: 9:00am - 4:00pm EST
Enjoy fast and easy shipping on thousand of items, delivered right to your home for free.
*Not all items qualify for simple shipping. Simple shipping only applies to locations within the continental United States. Some restrictions & charges may apply, such as non-standard items and shipping locations. This policy only applies to products shipped via standard shipping. Please visit our policy page for more information.



Original price was: $375.99.$349.99Current price is: $349.99.
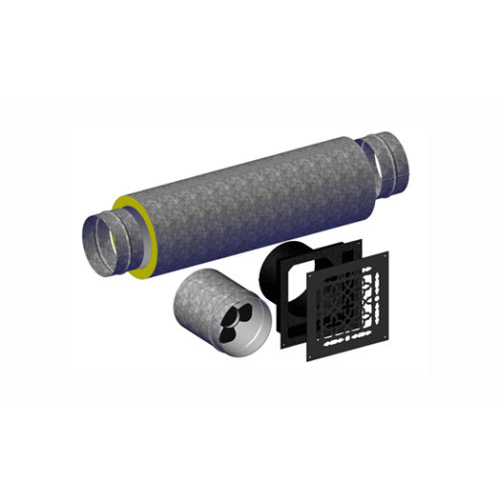
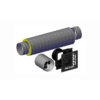
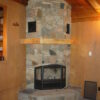
Official RSF Heat Dump Kit for various RSF wood burning fireplaces. The Heat Dump Kit allows heat to be circulated to different rooms using a small fan. The most common usage is directed supplemental heat to a basement, but can also be used to send heat to upper floors.
OEM Part Number: FO-HD
Included with FO-HD Heat Dump Kit:
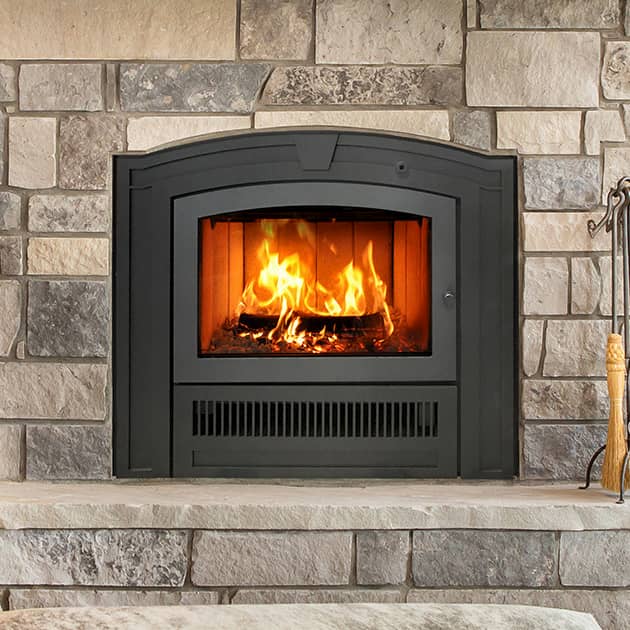
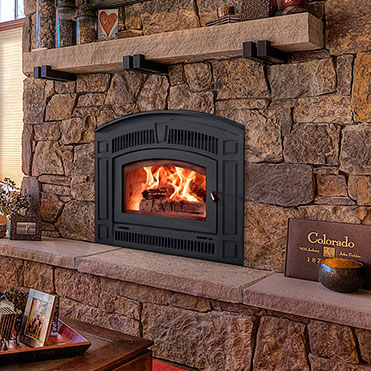
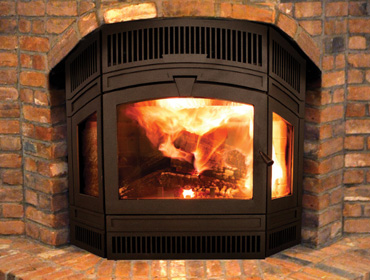
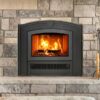
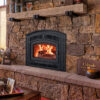
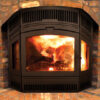
Applicable Models
This part may fit other RSF products as well. Please consult your owner’s manual to confirm.
WoodChimney.com stocks and sells other RSF replacement parts. Please contact us if your part is not listed on our website.
This genuine RSF Heat Dump Kit is in stock and ready to ship.
Installation Instructions
1. Plan the insulated flexible duct run first. Remember that the maximum duct length from the side of the fireplace to the inlet is 8 feet. There is no maximum number of bends in a run, just make sure that there are no tight bends that would prevent airflow. Remember though that for every bend in the duct you will loose a little on the resulting airflow. Passing through a wall requires no special framing or clearance to respect since the air in the duct is at a moderate temperature.
2. The decorative grill adapter is designed to be installed on top of the gypsum board of the wall. Make a 7½” x 7½” opening for the installation of the decorative grill adapter. We recommend that the hole be framed for a more sturdy installation, but you can also use gypsum anchors behind the decorative grill adapter to secure the four screws. Do not install the adapter yet, but leave it close by.
3. The insulated flexible duct can be attached to any side of the fireplace. Start by removing the cutout on the correct side of the fireplace (see Figure 1). Bend out the four tabs to 90°.
4. Use one of the connection sleeves to cut through the insulation by turning it back and forth while pushing against the insulation. Remove the cut insulation.
5. Depending on your particular fireplace, you may need to remove a second cutout if you see a steel surface immediately on the inside face of the insulation you have just cut through. If necessary, delicately push the insulation so you can see the cutout perimeter and remove it.
6. Install the insulated flexible duct on a connection sleeve. Using three of the self-tapping screws with three flat washers provided, screw through the flexible duct to attach it to the connection sleeve.
7. Insert the connection sleeve through the fireplace casing all the way to the bead. Use three of the self-tapping screws provided to attach the connection sleeve to the three tabs with pre-punched holes (see Figure 2). You can use either hole on the top tab
8. Extend the insulated flexible duct as desired.
9. Using three of the self-tapping screws provided, attach the fan to the decorative grill adapter. The outlet of the fan goes into the round sleeve of the adapter so that the fan will pull the warm air from the fireplace. Look at the arrow on the fan, it shows the airflow direction. Make sure that none of the screws prevent the fan from turning freely.
10. Use three of the self-tapping screws provided to attach a connection sleeve to the fan inlet.
11. Pull the insulated flexible duct out of the framed hole at the outlet location. Install the insulated flexible duct on connection sleeve attached to the fan inlet. Again use three of the self-tapping screws with three flat washers provided to attach the insulated flexible duct to the connection sleeve.
12. Place the decorative grill adapter in the framed hole. Install the decorative grill and attach both the adapter and the grill with the black screws provided.
Please refer to the fan installation instructions for details regarding the electrical hook-up.
Please Note these Warnings:
| Weight | 40 lbs |
|---|---|
| Dimensions | 24 × 16 × 8 in |
| Size | 12" x 14", 12" x 14" w/ Louvers |
Reviews
There are no reviews yet.